Once the contact has indicated an interest in meeting the candidate, it is essential to coordinate an Appointment. This can be accomplished using AURA's specialized Add Appointment feature. Once saved, the Appointment will be reflected on your calendar, complete with hyperlinks to all pertinent records.
Similar to both the internal and client submission processes, it is advisable to initiate this action from the job record, ensuring that the candidate's details are pre-filled into the Appointment form.
Depending on your company's established procedures, you might need to organize and monitor multiple Appointment rounds for the same candidate. In such instances, you can select from four appointment types when scheduling: Appointment, 2nd Appointment, 3rd Appointment, and Final Appointment, each likely accompanied by corresponding workflow icons.
If an Appointment is mistakenly scheduled for the wrong candidate or contact, it can be deleted from AURA. Additionally, it is crucial to revert the candidate's submission status back to Client Submission and erase the Appointment history to maintain accuracy in reporting.
For cases requiring a simple rescheduling of an Appointment, refrain from deleting it. Instead, open the appointment and adjust the Start time and End time fields as needed.
Following this process, AURA automatically updates the candidate's submission status to Appointment Scheduled.
How to Schedule an Appointment Between a Contact and a Candidate:
How to Arrange an Appointment Between a Contact and a Candidate:
- Select the "Schedule Appointment" option from the "Action" dropdown menu on the job page.
- Choose the Appointment category (Appointment Type).
Adjust or complete any necessary information and specify if an appointment needs scheduling:
Appointment details: on this block, please choose the Appointment Status (confirmed, scheduling in progress, scheduled, to be rescheduled, canceled, completed)

- Stakeholders: Choose a candidate to inform the Appointment attendees. On this block, you should choose the Appointment Owner from your team.
- Input the participants who should be present at the Appointment (Additionally, you can select check-boxes to choose a few Internal participants. After this, you select a check-box to Notify Attendees)
Provide the date and time for the appointment in the Start and End fields:
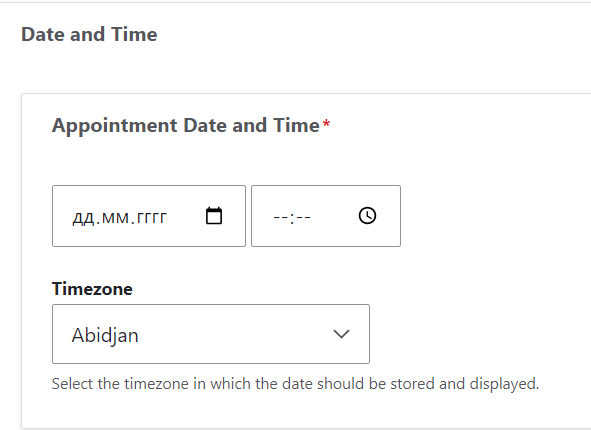
Select the reminder timeframe before the Appointment (you can set up the timezone in which the date should be stored and displayed):

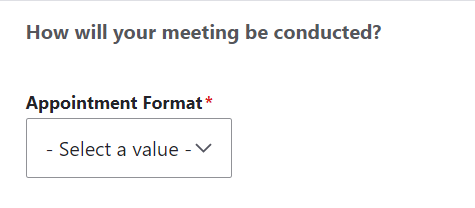
Specify how your meeting will be conducted: in person, online, or by phone
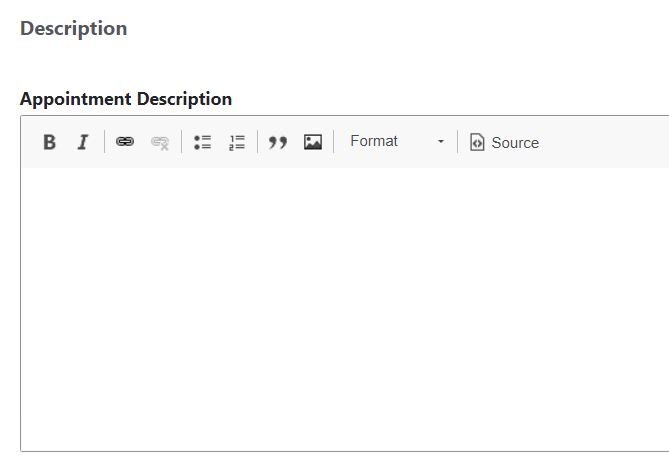
Include any pertinent descriptions, if applicable, by adding an "Appointment Description" to the specific field:
- You can set up Recurring Appointments by selecting the "Post Placement Recurrence" checkbox.
- Additionally, you can add a few Appointment Notes if you wish.
- Save the changes.
- Dispatch emails to both the candidate and the contact, conveying the Appointment details.
To Remove an Appointment and Its Record:
Open the Appointment page, click "Edit," and utilize the "Delete" button to erase both the Appointment and its corresponding history.