Creating a Contract Attachment in AURA.
To be able to create the Contract Attachment, you should create the Master Contract at first.
We will remind you how you can do this.
Creating a Master Contract:
- Access Company Page:
- Navigate to the needed company's page within the AURA system.
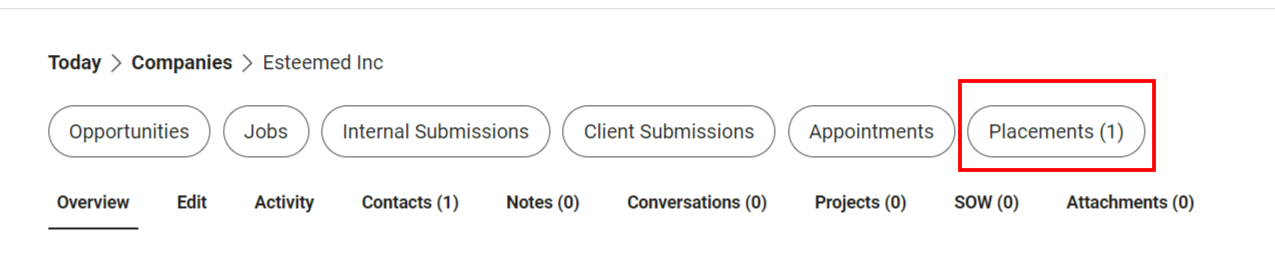
- Open Placement Tab:
Locate the "Placement" tab and open the already created placement file associated with the candidate.
- Initiate Master Contract Creation:
- Click on the "Action" drop-down menu and select "Create Master Contract".
- Complete Contract Details:
- Fill out all the required fields in the contract creation form. Ensure all necessary information is provided accurately.
- Review and Save Contract:
Review the contract details for accuracy and completeness. Once satisfied, click on the "Save" button to finalize the creation process. The contract will then be sent to the customer for signing.

Creating a Contract Attachment:
- Access Placement File:
Navigate back to the placement file within the AURA system.

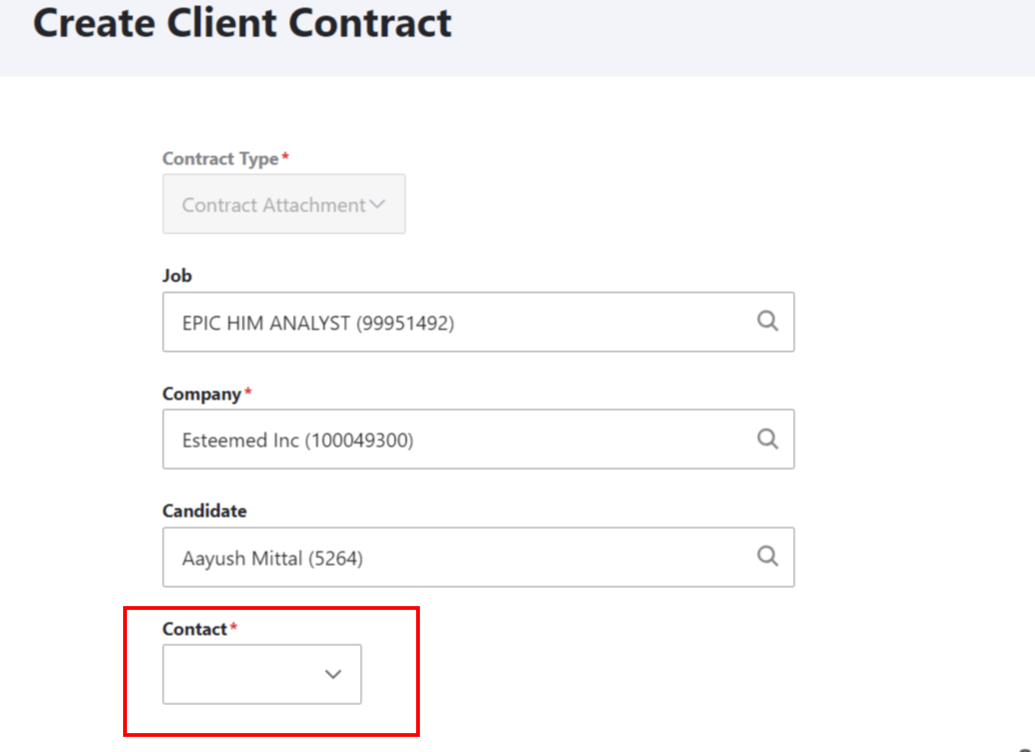
- Initiate Contract Attachment Creation:
- Click on the "Action" drop-down menu and select "Create Contract Attachment".
- Select Contact:
Choose the appropriate contact who will receive and sign the contract attachment.
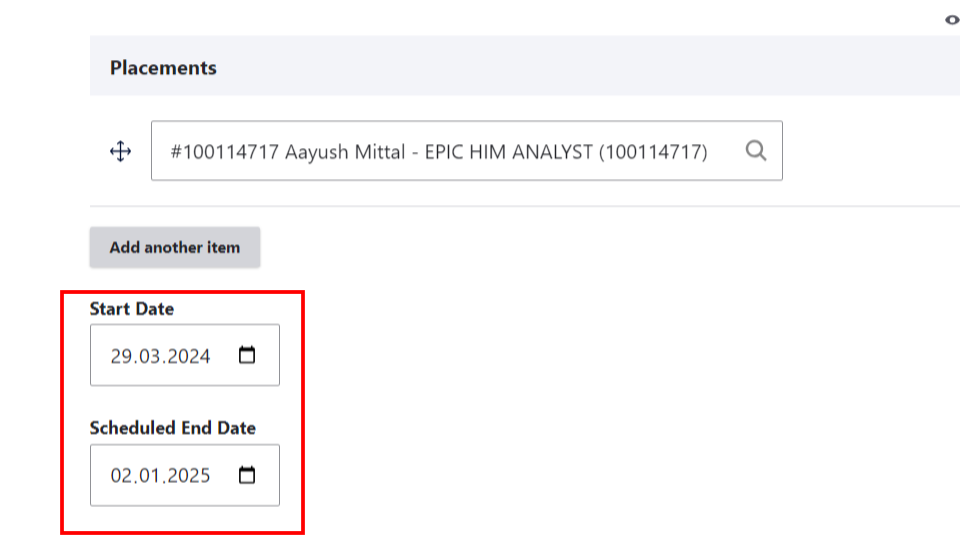
- Verify Dates:
Check and confirm the Start Date and Scheduled End Date of the contract attachment.
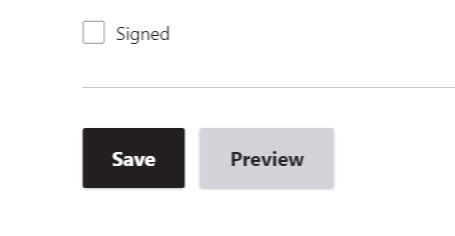
- Save and Send:
After ensuring all necessary details are filled out correctly, click on the "Save" button to save the document. The contract attachment will then be sent to the customer for signing.
Signing Process for Customer:
- Once the customer receives the Master Contract and Contract Attachment, they can open the documents to review and sign them using the provided instructions.
By following these steps, you can efficiently create both Master Contracts and Contract Attachments within the AURA system, ensuring smooth contract management processes for your company and clients.